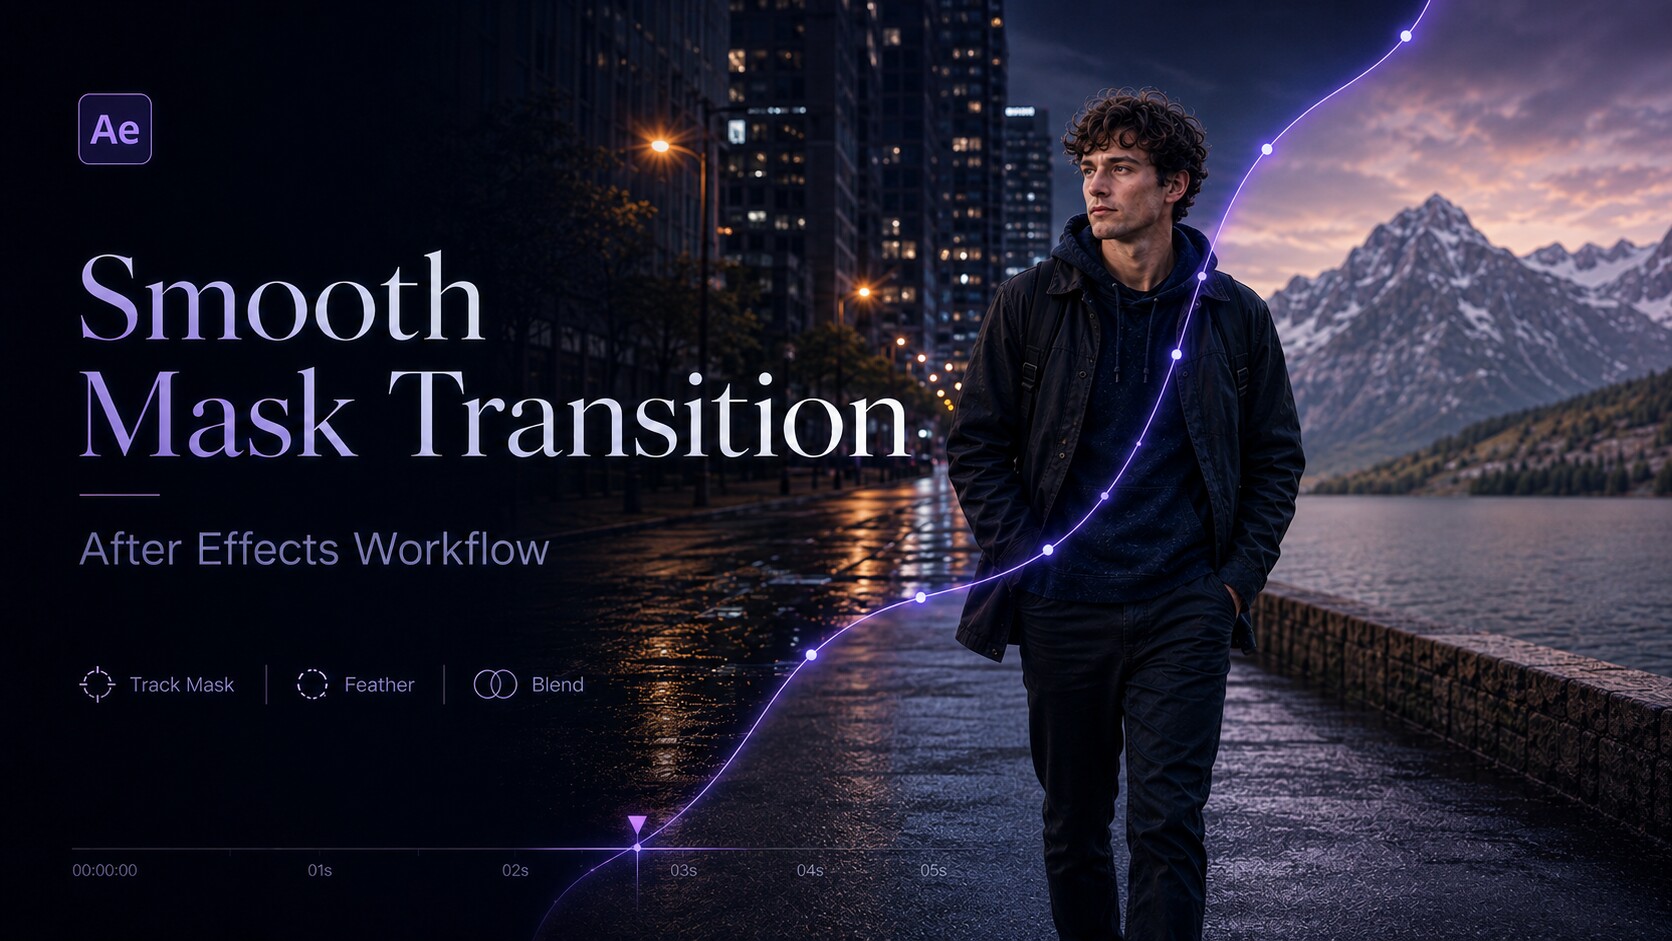
Download the practice project
After Effects project plus the two vertical 4K clips used in the tutorial.
The short answerPut the clip containing the transition object above the destination clip and overlap them by 30 frames. Draw and track a mask around the object, duplicate that layer, invert the top copy, animate Scale on the top copy and Position on the masked copy, then ease both animations so the destination shot is revealed through the object.
What changed in After Effects 26.3?
After Effects 26.3 is the current stable release. Its updated Mask Tracker is up to five times faster for Position, Position & Rotation, Position–Scale–Rotation, and Position–Scale–Rotation–Skew tracking. The tracking controls are now available beside Mask Path in the Timeline, so this workflow no longer requires constant switching to the Tracker panel.
This is a rigid-mask workflowIt works best when the wheel, doorway, phone, window or other transition object keeps roughly the same shape. Position, scale, rotation, skew and perspective may change, but heavy deformation or occlusion will need manual Mask Path corrections.
How the transition works
Track the doorwayThe mask follows the object that becomes the visual opening.
Split the shotAdd shows the object; Inverted shows everything outside it.
Move both piecesDifferent Scale and Position motion reveals the clip underneath.
Complete workflow from the video
- Arrange the two clips. Put the shot containing the wheel or transition object above the shot you want to reveal.
- Create a 30-frame overlap. At 30 fps this is one second; at 60 fps it is half a second. Treat 30 frames as a starting point, not a rule.
- Choose a clear base frame. Place the CTI where the object has a clean outline and minimal motion blur.
- Draw a closed mask. Select the upper footage layer, use the Pen tool, and trace the wheel with as few points as possible.
- Select Mask Path. Expand Masks › Mask 1 and select Mask Path. In 26.3 you can start tracking directly from the Timeline or choose Animation › Track Mask.
- Choose the tracking method. Position, Scale & Rotation is the practical choice for this wheel because its location and apparent size change.
- Track across the overlap. Track forward or backward from the base frame. After Effects creates Mask Path keyframes automatically.
- Correct the first drifting frame. Stop at the first error, move only the required mask points, then continue tracking from there.
- Duplicate the tracked layer. You now have two perfectly synchronized copies of the wheel shot.
- Invert the top copy. Keep Mask Mode on Add and enable Inverted on the upper copy. The middle copy stays Add and shows the wheel interior.
- Animate Scale on the top copy. Scale the outside portion so it accelerates away from the transition object.
- Animate Position on the middle copy. Move the isolated wheel until it carries the viewer into the next shot.
- Ease and synchronize. Apply Easy Ease, then shape both curves in the Speed Graph. The two movements should peak together.
- Finish the edge. Add a small Mask Feather, adjust Mask Expansion if a fringe appears, enable Motion Blur when helpful, and preview at Full resolution.
Correct layer stack
1Wheel shot — outside area
Tracked mask with Inverted enabled · animate ScaleTop
2Wheel shot — inside area
Tracked Add mask · animate PositionMiddle
3Destination shot
The clip revealed by the transitionBottom
Which Mask Tracker method should you choose?
| Method | Best use |
|---|
| Position | Object only moves in X and Y. |
| Position & Rotation | Object moves and turns but keeps similar size. |
| Position, Scale & Rotation | Best default for this transition; the object moves, turns and changes apparent size. |
| Position, Scale, Rotation & Skew | Add when the object tilts or distorts slightly. |
| Perspective | Planar surfaces with strong angle changes, such as signs or screens. |
| Face Outline / Detailed Features | Specialized face work; not needed for the wheel example. |
Mask controls that affect the result
- Mask Path: the animated outline generated by tracking.
- Mask Feather: softens the edge. Keep it low for a wheel or other hard object.
- Mask Expansion: expands or contracts the alpha without changing the path. Use a small negative value to remove a bright fringe.
- Mask Opacity: changes how strongly the mask affects the layer; normally keep it at 100% here.
- Inverted: swaps inside and outside while preserving the same tracked path.
Common problems
The mask driftsCorrect the first bad frame, use fewer cleaner points, or choose a method with Scale/Rotation/Skew.
A seam appearsBoth copies must be frame-perfect duplicates. Match timing, add slight Feather, and tune Expansion.
The transition feels like two movesAlign the Scale and Position keyframes and make their speed peaks happen together.
The next clip appears too earlyCheck the overlap and make sure the destination clip stays below both duplicate layers.
Tracker panel is missingSelect a mask on a footage or precomp layer, then choose Animation › Track Mask.
Project shows missing effectsThe collected AEP may warn about optional third-party styling effects. The mask, tracking and keyframe workflow remains editable.
Professional finishing tips
- Match direction: the isolated object should travel toward the visual energy of the second clip.
- Start tracking from the sharpest frame, then analyze in both directions.
- Use Motion Blur only after the mask is clean; blur can hide a small seam but not bad tracking.
- Add a subtle scale or position continuation to the destination clip so momentum does not stop on the cut.
- Preview the transition at actual frame rate. A still frame cannot reveal timing problems.
Official Adobe sources
Build the transition, then speed up your workflow.
Apply the technique to your own footage, then explore Ultimate Plugins tools for faster work inside After Effects.
تحميل ملف التدريب
مشروع After Effects مع لقطتي الفيديو العموديتين 4K المستخدمتين في الشرح.
الخلاصة السريعةضع الكليب الذي يحتوي على عنصر الانتقال أعلى الكليب الثاني، واعمل بينهما تداخلًا مدته 30 فريم. ارسم ماسك حول العنصر وتتبعه، ثم كرر الطبقة واعكس الماسك في النسخة العليا. حرّك Scale للنسخة العليا وPosition للنسخة التي تُظهر داخل العنصر، ثم اضبط المنحنيات ليظهر الكليب السفلي بسلاسة.
ما الجديد في After Effects 26.3؟
الإصدار 26.3 هو أحدث إصدار مستقر حاليًا. حدّثت Adobe أداة Mask Tracker لتصبح أسرع حتى خمس مرات مع طرق Position وPosition & Rotation وPosition, Scale & Rotation وPosition, Scale, Rotation & Skew، كما أصبحت أزرار التتبع متاحة مباشرة بجوار Mask Path داخل Timeline.
هذه الطريقة تعتمد على Rigid Mask Trackingتنجح أكثر عندما يحافظ العنصر على شكله العام مثل عجلة أو باب أو هاتف أو نافذة. يمكن أن يتغير مكانه وحجمه ودورانه ومنظوره، لكن التشوه الكبير أو اختفاء جزء منه يحتاج تصحيحًا يدويًا.
فكرة الانتقال ببساطة
تتبع بوابة الانتقالالماسك يتبع العنصر الذي سنعبر من خلاله إلى اللقطة الثانية.
تقسيم اللقطةنسخة تُظهر داخل الماسك ونسخة Inverted تُظهر المنطقة الخارجية.
تحريك الجزأينScale وPosition مختلفان يكشفان الكليب الموجود في الأسفل.
شرح خطوات الفيديو بالتفصيل
- رتب الكليبين. ضع اللقطة التي تحتوي على العجلة أو عنصر الانتقال في الأعلى، وضع اللقطة التي تريد الوصول إليها في الأسفل.
- اعمل تداخلًا مدته 30 فريم. هذه المدة تساوي ثانية عند 30fps ونصف ثانية عند 60fps؛ استخدمها كنقطة بداية وعدلها حسب سرعة اللقطة.
- اختر Base Frame واضحًا. ضع مؤشر الزمن في فريم تكون فيه حدود العنصر واضحة والـMotion Blur قليلًا.
- ارسم ماسك مغلقًا. حدد الطبقة العليا واستخدم Pen Tool لتحديد العجلة بأقل عدد ممكن من النقاط.
- حدد خاصية Mask Path. افتح Masks ثم Mask 1 وحدد Mask Path. في 26.3 يمكنك التتبع من التايملاين مباشرة أو من Animation › Track Mask.
- اختر طريقة التتبع. اختيار Position, Scale & Rotation مناسب للعجلة لأن مكانها وحجمها الظاهري يتغيران.
- تتبع مدة التداخل. شغّل Track Forward أو Backward من الفريم الأساسي؛ سيضيف After Effects كي فريمات إلى Mask Path.
- صحح أول فريم يحدث فيه انحراف. توقف عند بداية الخطأ وحرك النقاط الضرورية فقط، ثم أكمل التتبع.
- كرر الطبقة المتتبعة. يجب أن تكون النسختان متطابقتين تمامًا في التوقيت.
- اعكس ماسك الطبقة العليا. اترك Mask Mode على Add وفعّل Inverted في النسخة العليا، بينما تظل النسخة الوسطى Add لتُظهر داخل العجلة.
- حرك Scale للنسخة العليا. كبّر أو صغّر الجزء الخارجي بحيث يندفع بعيدًا عن عنصر الانتقال.
- حرك Position للنسخة الوسطى. انقل العجلة المعزولة لتقود عين المشاهد إلى الكليب التالي.
- اربط الحركتين. استخدم Easy Ease واضبط Speed Graph بحيث تصل سرعة Scale وPosition إلى الذروة في الوقت نفسه.
- نظف الحافة. أضف Mask Feather بسيطًا، وعدل Mask Expansion عند ظهور هالة، واستخدم Motion Blur إذا كان مناسبًا.
ترتيب الطبقات الصحيح
1لقطة العجلة — المنطقة الخارجية
الماسك المتتبع مع تفعيل Inverted · تحريك Scaleأعلى
2لقطة العجلة — المنطقة الداخلية
الماسك المتتبع Add · تحريك Positionوسط
3اللقطة التالية
الكليب الذي سيظهر من خلال الانتقالأسفل
شرح طرق Mask Tracker
| الطريقة | متى تستخدمها؟ |
|---|
| Position | عندما يتحرك العنصر في X وY فقط. |
| Position & Rotation | عندما يتحرك ويدور مع ثبات حجمه تقريبًا. |
| Position, Scale & Rotation | الاختيار الأفضل لهذه اللقطة؛ يتغير المكان والحجم والدوران. |
| Position, Scale, Rotation & Skew | عندما يميل العنصر أو يحدث فيه انحراف منظور بسيط. |
| Perspective | للأسطح المسطحة التي تتغير زاويتها بقوة مثل الشاشات واللافتات. |
| Face Tracking | للوجوه فقط، وليست مطلوبة في مثال العجلة. |
خصائص الماسك المهمة
- Mask Path: مسار الماسك المتحرك والكي فريمات الناتجة من التتبع.
- Mask Feather: ينعّم الحافة؛ استخدم قيمة صغيرة مع الأجسام الصلبة.
- Mask Expansion: يوسع أو يقلص الألفا بدون تغيير المسار؛ القيمة السالبة البسيطة تزيل الهالة.
- Mask Opacity: قوة تأثير الماسك، وتظل عادة 100% في هذه الطريقة.
- Inverted: يعكس الداخل والخارج مع الاحتفاظ بنفس التتبع.
حل المشاكل الشائعة
الماسك ينحرفصحح أول فريم خاطئ، وقلل عدد النقاط، أو اختر طريقة تتبع تشمل Scale وRotation وSkew.
خط فاصل بين النسختينتأكد أن النسختين متطابقتان، وأضف Feather بسيطًا وعدل Expansion.
الحركة تبدو انتقالين منفصلينوحّد توقيت كي فريمات Scale وPosition واجعل قمة السرعة في نفس اللحظة.
الكليب التالي يظهر مبكرًاراجع مدة التداخل وتأكد أن اللقطة التالية أسفل نسختي طبقة العجلة.
Tracker لا يظهرحدد ماسكًا على Footage أو Pre-comp ثم اختر Animation › Track Mask.
تحذير Missing Effectsقد يحتوي المشروع المجمع على مؤثرات شكلية إضافية؛ الماسك والتتبع والكي فريمات يظلون قابلين للتعديل.
نصائح لنتيجة احترافية
- اجعل اتجاه حركة العنصر يكمل اتجاه الحركة البصرية في الكليب التالي.
- ابدأ التتبع من أوضح فريم ثم تتبع للأمام والخلف.
- نظف الماسك أولًا ثم فعّل Motion Blur؛ الضبابية لا تصلح Tracking خاطئًا.
- أضف استمرارًا بسيطًا للحركة داخل الكليب التالي حتى لا تتوقف الطاقة عند القطع.
- شاهد الانتقال بسرعة التشغيل الحقيقية، لأن الفريم الثابت لا يكشف مشاكل التوقيت.
مصادر Adobe الرسمية
طبّق الانتقال ثم سرّع شغلك.
طبّق الطريقة على لقطاتك، ثم استعرض أدوات Ultimate Plugins لتنجز أسرع داخل After Effects.
Descarga el proyecto de práctica
Proyecto de After Effects y los dos clips verticales 4K del tutorial.
Respuesta rápidaSuperpone los clips 30 fotogramas, dibuja y rastrea una máscara alrededor del objeto, duplica la capa, invierte la copia superior y anima Scale arriba y Position en la copia enmascarada.
Novedad en After Effects 26.3
La versión estable actual incluye un Mask Tracker actualizado, hasta cinco veces más rápido en varios métodos, con controles accesibles directamente junto a Mask Path en el Timeline.
Flujo completo
- Coloca el plano con el objeto arriba y el plano de destino abajo.
- Superpone ambos 30 fotogramas y ajusta la duración según el ritmo.
- Elige un fotograma nítido y dibuja una máscara cerrada con pocos puntos.
- Selecciona Mask Path y usa Position, Scale & Rotation para esta rueda.
- Rastrea el intervalo y corrige el primer fotograma donde la máscara se desvíe.
- Duplica la capa; activa Inverted en la copia superior y deja Add en la intermedia.
- Anima Scale en la copia superior y Position en la intermedia.
- Aplica Easy Ease, sincroniza los picos en Speed Graph y corrige Feather/Expansion.
Orden de capas
1Exterior del plano de la rueda
Máscara Inverted · ScaleArriba
2Interior de la rueda
Máscara Add · PositionCentro
3Plano de destino
El clip reveladoAbajo
Errores frecuentes
La máscara se desvíaCorrige el primer fallo y continúa el rastreo desde ahí.
Aparece una costuraIguala las copias y ajusta Feather y Expansion.
Movimiento desconectadoAlinea keyframes y picos de velocidad.
Tracker ausenteSelecciona una máscara sobre footage o precomp.
Fuentes oficiales
Aplica la transición y acelera tu flujo.
Usa la técnica en tus propios clips y descubre las herramientas de Ultimate Plugins para trabajar más rápido en After Effects.
Übungsprojekt herunterladen
After-Effects-Projekt und beide vertikalen 4K-Clips aus dem Tutorial.
Kurz erklärtClips 30 Frames überlappen, Objekt maskieren und tracken, Ebene duplizieren, obere Maske invertieren und anschließend Scale oben sowie Position in der maskierten Kopie animieren.
Neu in After Effects 26.3
Die aktuelle stabile Version bietet einen aktualisierten Mask Tracker, bei mehreren Methoden bis zu fünfmal schneller. Die Analyse lässt sich direkt neben Mask Path in der Timeline starten.
Kompletter Ablauf
- Objekt-Clip oben und Ziel-Clip unten anordnen.
- Beide Clips 30 Frames überlappen; Dauer an Bildrate und Tempo anpassen.
- Einen klaren Basisframe wählen und mit wenigen Punkten eine geschlossene Maske zeichnen.
- Mask Path auswählen und für das Rad Position, Scale & Rotation nutzen.
- Den Überlappungsbereich tracken und den ersten Drift-Frame korrigieren.
- Ebene duplizieren: oben Inverted, in der Mitte Add.
- Scale der oberen und Position der mittleren Kopie animieren.
- Easy Ease anwenden, Speed-Graph-Kurven synchronisieren und Kante mit Feather/Expansion säubern.
Ebenenreihenfolge
1Außenbereich des Rad-Clips
Inverted-Maske · ScaleOben
2Innenbereich des Rads
Add-Maske · PositionMitte
3Ziel-Clip
Wird durch den Übergang sichtbarUnten
Häufige Probleme
Maske driftetErsten Fehlerframe korrigieren und von dort weitertracken.
Sichtbare NahtKopien exakt synchronisieren und Feather/Expansion anpassen.
Getrennte BewegungenKeyframes und Geschwindigkeitsspitzen ausrichten.
Tracker fehltMaske auf Footage oder Precomp auswählen.
Offizielle Quellen
Übergang anwenden und Workflow beschleunigen.
Nutze die Technik mit deinem eigenen Material und entdecke Ultimate-Plugins-Tools für schnelleres Arbeiten in After Effects.